•Open the ”Dust & Scratches” filter
•Set radius to 12
•Set Threshold to 50-120, by looking enlarged image, so that the center of the brighter stars disappears but image stays ”crispy”.
•Lower radius two points to 10 and set Threshold to 30-80. Follow image quality and details.
•Repeat several iterations with lower values, the more rounds the better.
•In the final step radius should be 1 and the Threshold between 3-10.
•If there are leftovers from brighter stars, use the clone tool to clean them up.
然後再把原圖當明度疊回去~色偏或光暈就沒了~作者:
arthur 時間: 2010-10-7 15:28
還有一段重點沒有轉貼到
All Stars are now removed
•There are usually some other missing details as well.
•.Place the original H-a image with stars to top of the Starless one.
•Turn blending mode to ”Darken”
•Blink layers to see the effect
•Merge layers
•If some lighter shades are missing, fix them by using the History Brush
•After fixes, blink the image again with the original one, to be sure, that there is no missing details other than Stars!
果然色差就不見了,我昨晚也將以前拍的鵜鶘處理一下,真的有效
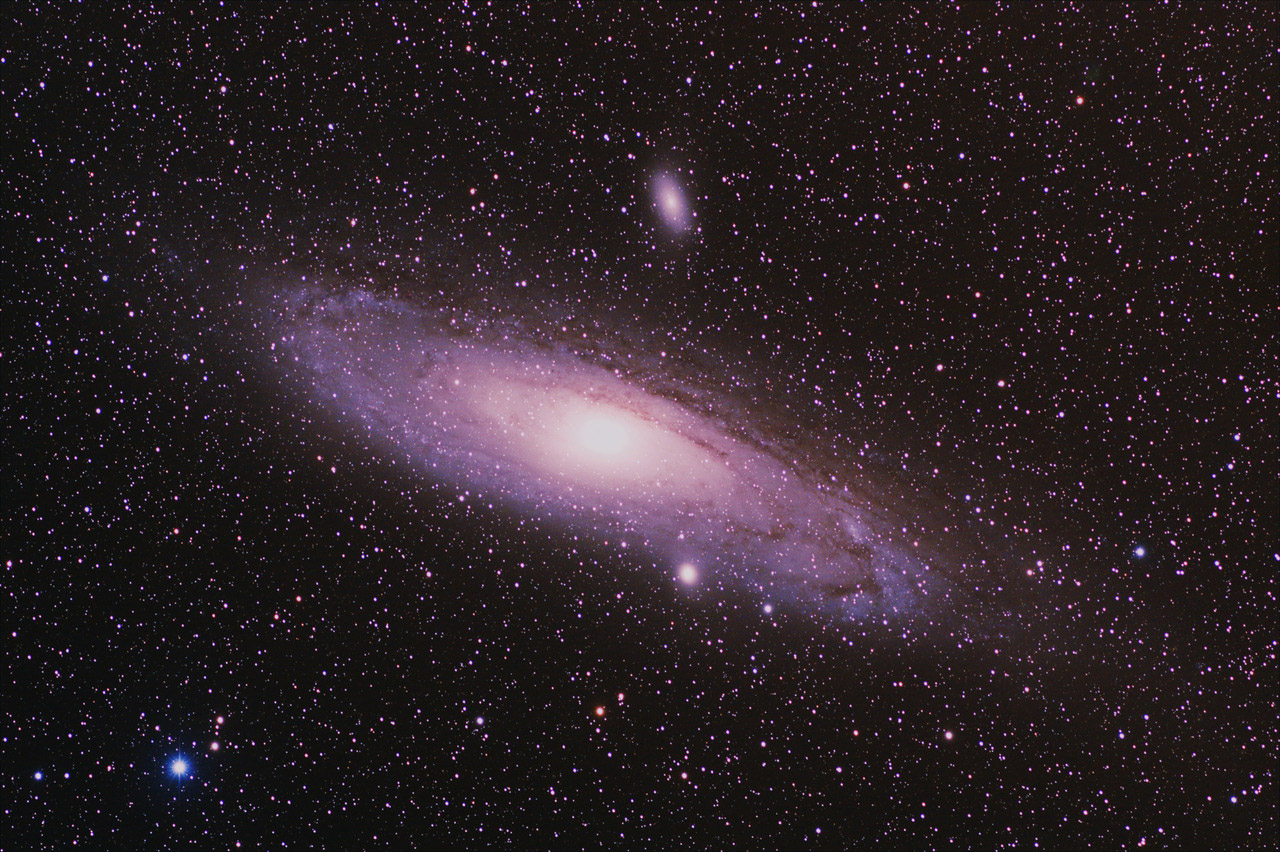
你處理的M31也很好,不過星點都沒有顏色了,沒錯
另原文中說:If there are leftovers from brighter stars, use the clone tool to clean them up
這是甚麼意思? leftover,clone?
英文不好,抱歉作者:
rogerrao 時間: 2010-10-8 09:57
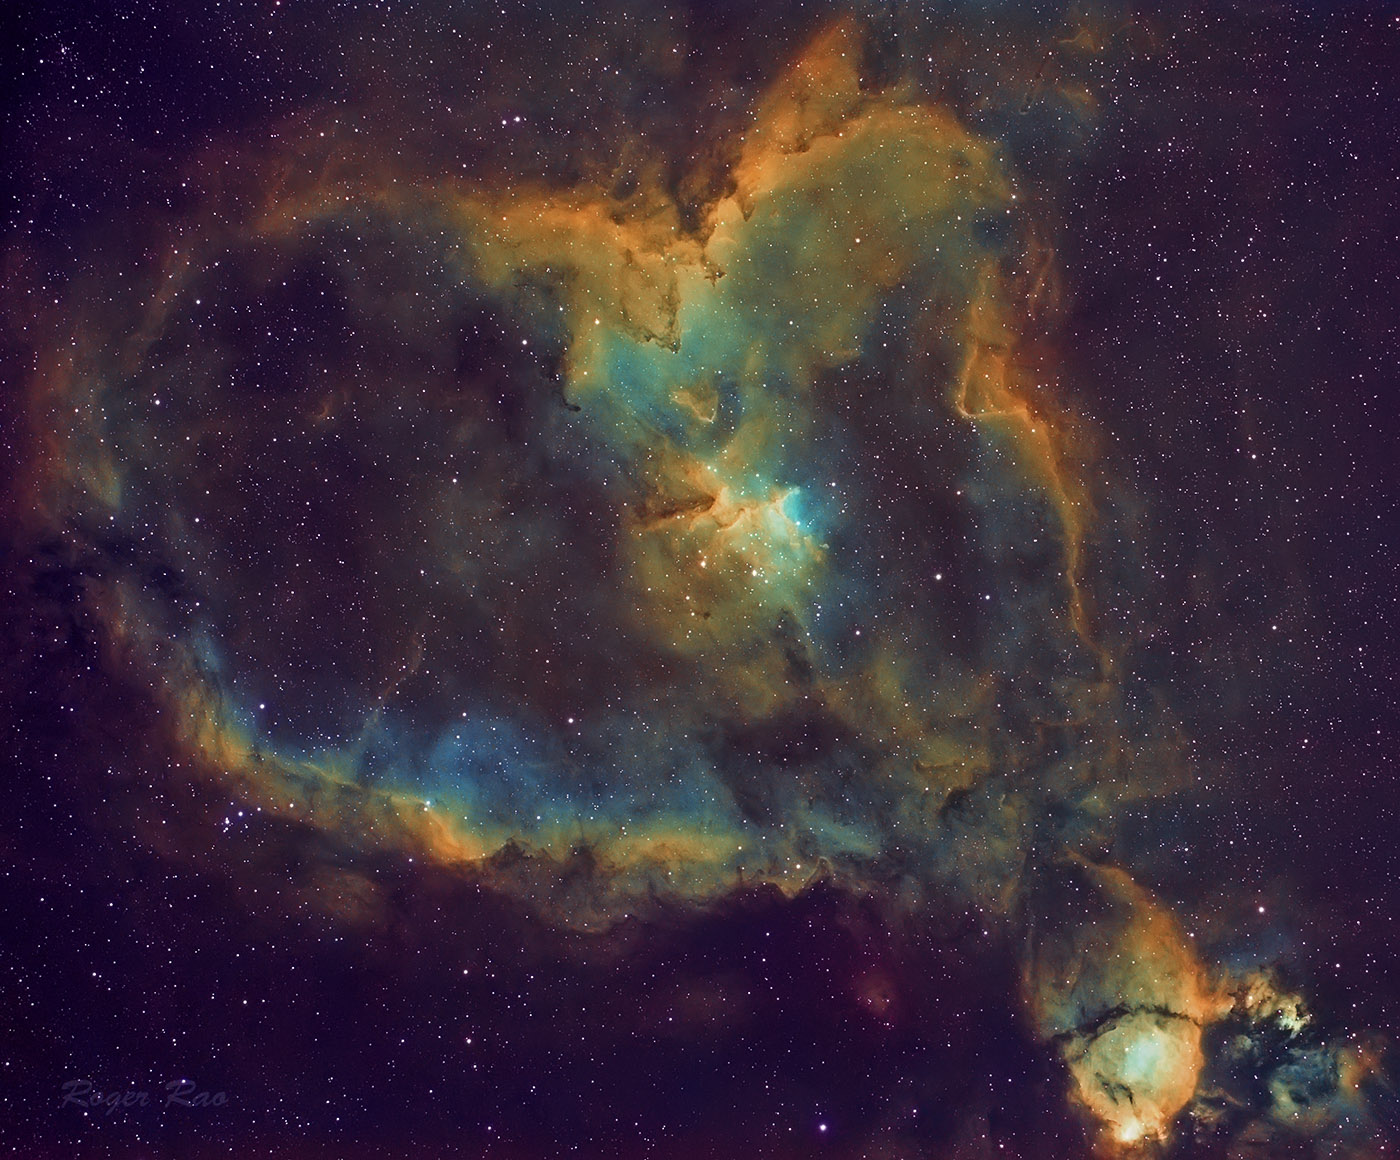

 這顏色太太太太......太酷了